Managing the tags on large websites, or for companies with multiple websites can be difficult, there’s no other way to put it. The implementation for most of the large websites I’ve had the pleasure to work on has often been… disjointed, for want of a better phrase.
The tagging for most of these large sites has usually come about from one of two ways:
- There was once a nice, clean tag implementation, but since then multiple agencies all adding their own tags without any consideration for the container. There are duplicated triggers, variables, sometimes even tags, and unused versions of all of the above. The worst culprit for this is media agencies, who add the HTML code for Floodlight and Google Ads tags, rather than using the built in templates.
- It’s been directly moved from a different tag management system, still using listeners or Javascript objects from the previous platform (sometimes many years down the line), with new tags being patched in to make it work. The worst example of this that I’ve seen was a Tealium migration where the person doing the migration had avoided using the GA Settings variable, instead using the ‘Enable overriding settings in this tag’ to put in all the tag settings, including the Tracking ID.
This can make it really longwinded to make changes to the implementation, where instead of making one change to one trigger or tag, you have to make the same change to 100 tags. In the case of the missing GA settings variable, if you wanted to add a new custom dimension to your tags, say a Session Id, or timestamp, you had to add that to 100 tags…
This is why I wrote googleTagManageR.
As with many projects, this isn’t all my own work. I stand on the shoulders of giants, in this case the impressive Mark Edmondson, author of a suite of Google R packages that are part of the googleAuthRverse. I relied heavily on the googleAuthR package both for user authentication and to build the API requests for each function, without that I certainly wouldn’t have managed to build this package.
If you use the package and find an error, please let me know by raising an issue on GitHub. If you want to fix it yourself, please raise an issue, fork the package, make your changes and raise a PR for the fix.
Installing googleTagManageR
Currently, this package isn’t available on CRAN, as there are still some functions that need to be added and tweaked to ensure they catch all errors, so needs to be installed using remotes. You can either install direct from the master branch or use one of the tagged releases, which will probably be more stable but not contain the latest updates.
install.packages('remotes')
remotes::install_github('jamescottrill/googleTagManageR') # Master branch
remotes::install_github('jamescottrill/googleTagManageR@*release') #Latest release
How to use it
Authentication
The authentication workflow is very similar to Mark’s existing Google packages, so if you’ve used any of those then it should be pretty straightforward to use. Basic authentication is done with gtm_auth()
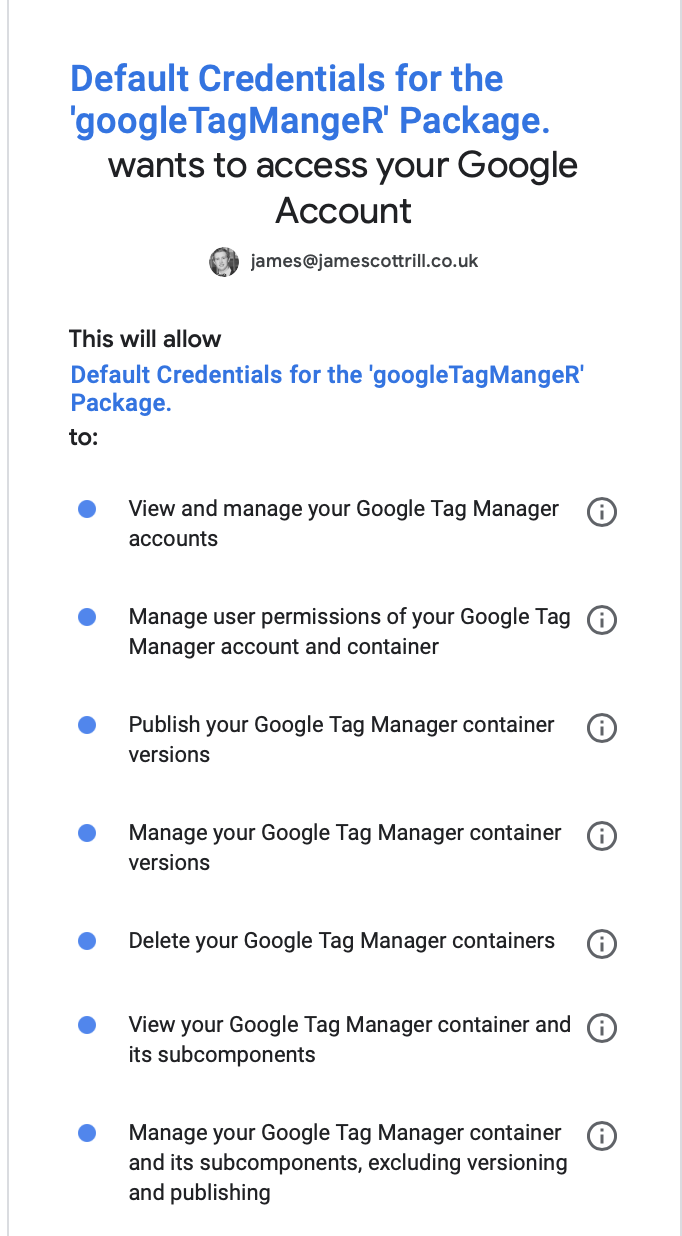
The first time you log in, you’ll be asked to authenticate via your web browser:

After you’ve done that once, your credentials will be stored in your R Environment, as with the other Google R Packages.
API Credentials
googleTagManageR comes bundled with default API credentials, so anyone can use the package. These credentials have limited request capacity: 10,000 Requests per day and 0.25 requests per second. They’re also shared, so if more than one person is using them at a time, you’ll probably hit the quota. For that reason, if you want to automate bulk changes on your container, please use your own credentials. This is quite a long section, so if you’re just trying out the API and will only be making a few calls, feel free to skip along.
If you’re creating API credentials, I recommend that you do this in a new project, or a project that you just use for API credentials. There is no cost to using the GTM API, but you can only have one OAuth screen per project, so as you may want to run actual web apps/authentication on your other projects, keeping one just for use with the APIs is a good idea.
As this authentication is built using googleAuthR, you can use the techniques in this post to authenticate, but here is a general overview on creating credentials.
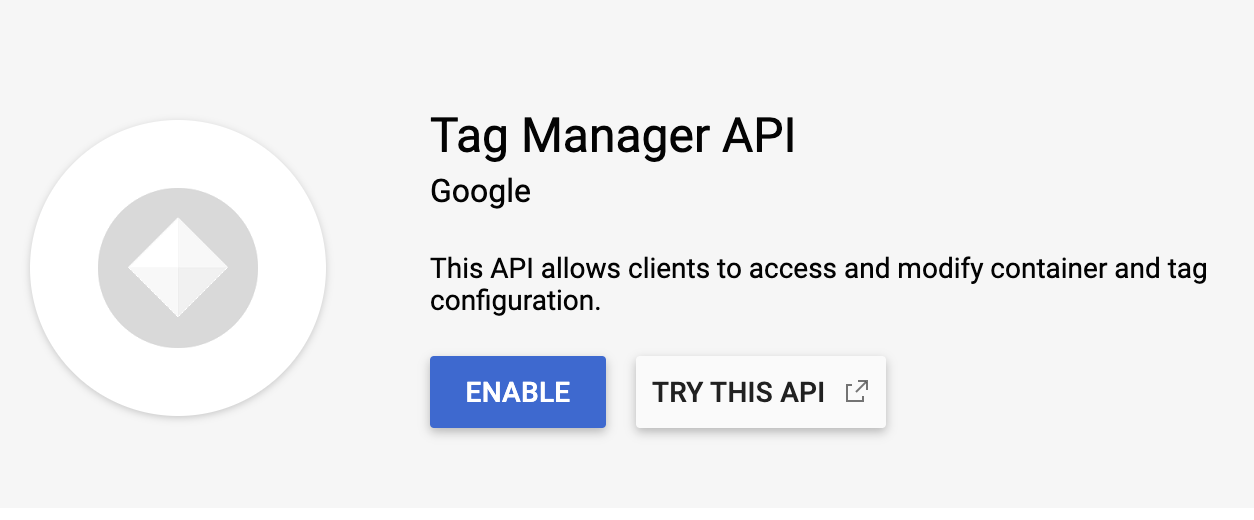
To create API credentials, you need a Google Cloud Platform project and to enable the Tag Manager API on the project.
 Then click enable the API:
 Once the API is enabled, you need to create credentials:
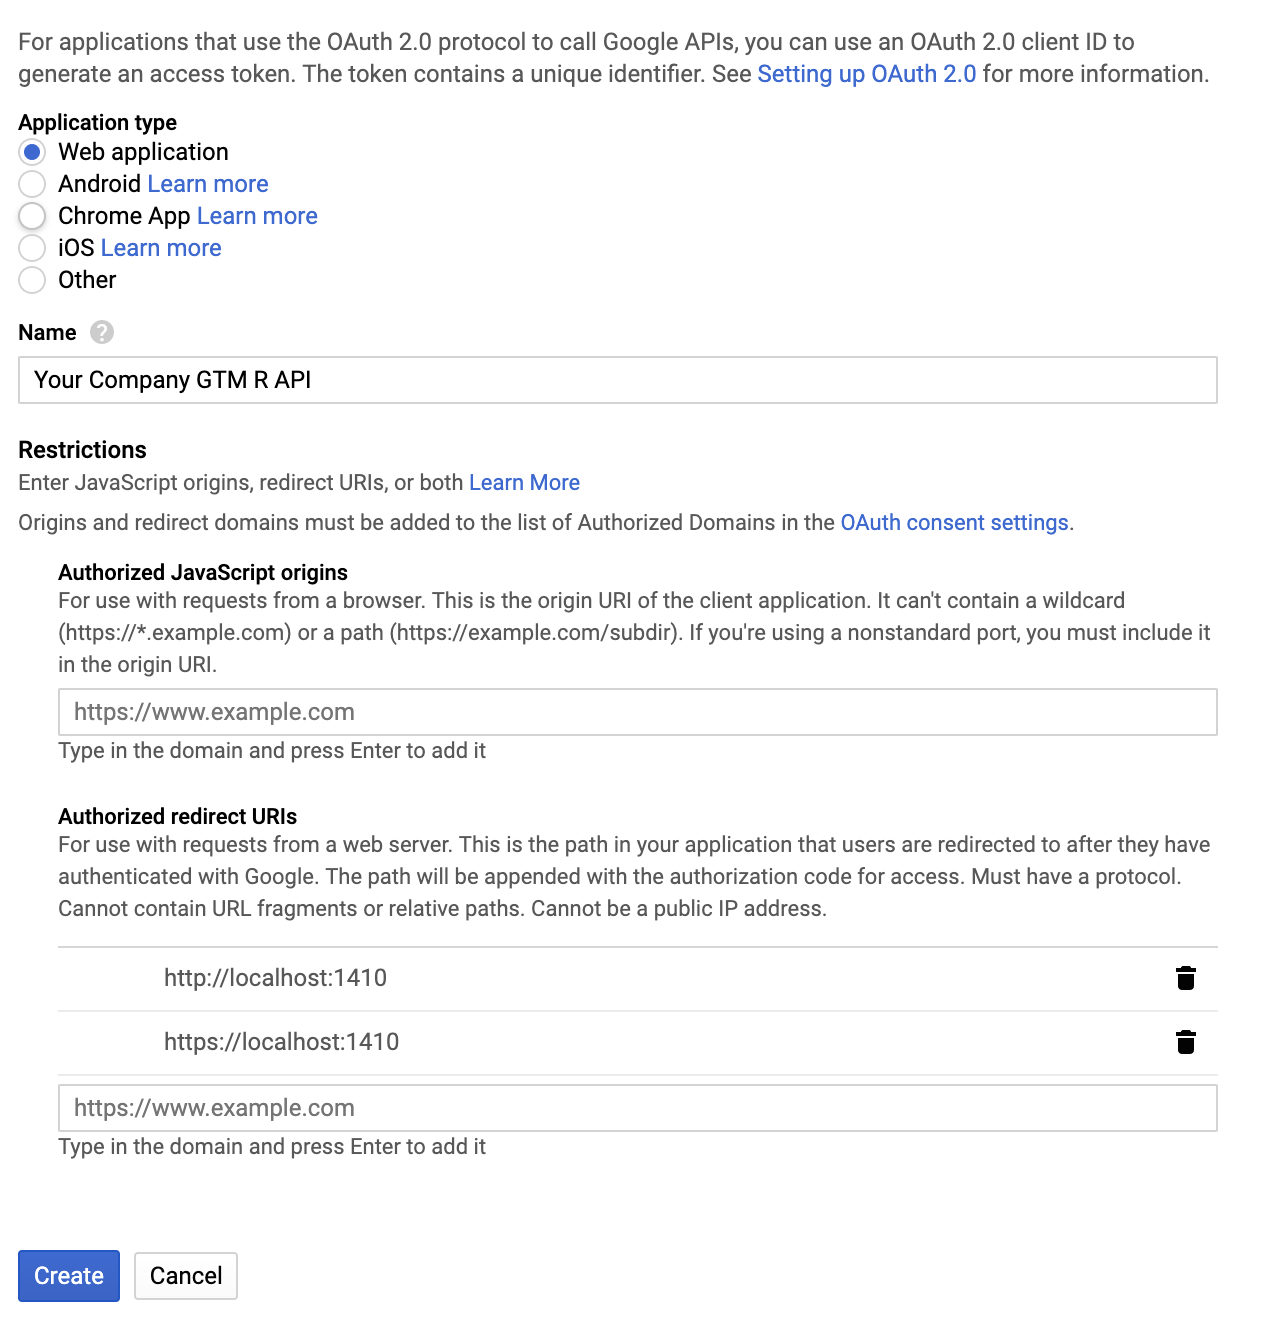
 If you’re authenticating on a Shiny App or R Server, you’ll need a Web Application Client Id, otherwise you’ll need “other”. These are the settings you’ll need for them, the redirect URI is http://localhost:1410, and I’ve added the https version as well:
 You can download the credential JSON once it has been created.
You’ll also need to set up your OAuth Screen. This is the screen where you log in and authorise your API. I recommend you use an internal screen if you can so you don’t have to go through the verification process, which is a long and tortuous process!
Doing Things
The various commands that exist in the googleTagManageR package all follow a consistent format, to make it easy to remember them, or work out what they do. The first part is gtm_ to keep all the functions distinct, the second is the plural of the property you want to interact with and the function becomes gtm_accounts_ and the third part is the action you want to take, so the final function would be gtm_accounts_list(). As with all rules, there is an exception (I’m English, after all) and in this case that is the functions to interact with builtin variables. They are singular, so gtm_builtin_list().
The functions are all documented in the package and the inputs are explained, but here are a few examples of commands you could run.
library(googleTagManageR)
library(dplyr)

#Update all your GTM Accounts to disable anonymous sharing of data
accounts <- gtm_accounts_list()
for(i in 1:nrow(accounts)){
  gtm_accounts_update(accounts$accountId[i], shareData=FALSE)
}

#Create standard folders in all your containers and categorise tags

#Get all accounts you have access to
accounts <- gtm_accounts_list()

for(i in 1:nrow(accounts)){

  #Get all containers in each account
  accountId <- accounts$accountId[i]
  containers <- gtm_containers_list(accountId)

  for(j in 1:nrow(containers)){

    containerId <- containers$containerId[j]

    #Create a new workspace in the container
    new_workspace <- gtm_workspaces_create(account_id = accountId,
                                          container_id = containerId,
                                          name = "New Folder Structure",
                                          description = "Creating new folders for all the tags")
   workspaceId <- new_workspace$workspaceId

   #Get All the tags in your workspace
   tags <- gtm_tags_list(account_id = accountId,
                         container_id = containerId,
                         workspace_id = workspaceId)

   # Create the first folder
   folder <- gtm_folders_create(account_id = accountId,
                                container_id = containerId,
                                workspace_id = workspaceId,
                                name = "Analytics Tags",
                                notes = "For Google Analytics Tags
                                )

  #Move the relevant tags/triggers/variable into the new folder
  analytics_tags <- tags %>% filter(type == 'ua')
  gtm_folders_move(account_id = accountId,
                   container_id = containerId,
                   workspace_id = workspaceId,
                   folder_id = folder$folderId,
                   tags = analytics_tags$tagId)

  #Repeat folder creation and element movement for all folders and tags/triggers/variables…

  #Create a new version of the container
  version <- gtm_workspaces_submit(account_id = accountId,
                                   container_id = containerId,
                                   workspace_id = workspaceId,
                                   name = "New Folder Structure",
                                   notes = "Creating new folders for all the tags")

  #Publish the new folders into the default workspace
  newVersion <- gtm_versions_publish(account_id = accountId,
                                     container_id = containerId,
                                     version_id = version$containerVersionId)
  }
}
These are just a couple of examples of using the API to make changes on scale. In a future blog post I will be posting the code I use to set up a GDPR Compliant OneTrust implementation, but that is a script worthy of its own post (also, I’m still perfecting that one.)