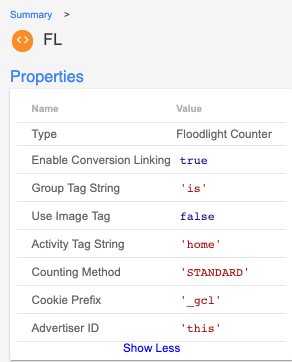
Who’s seen a container like this before?
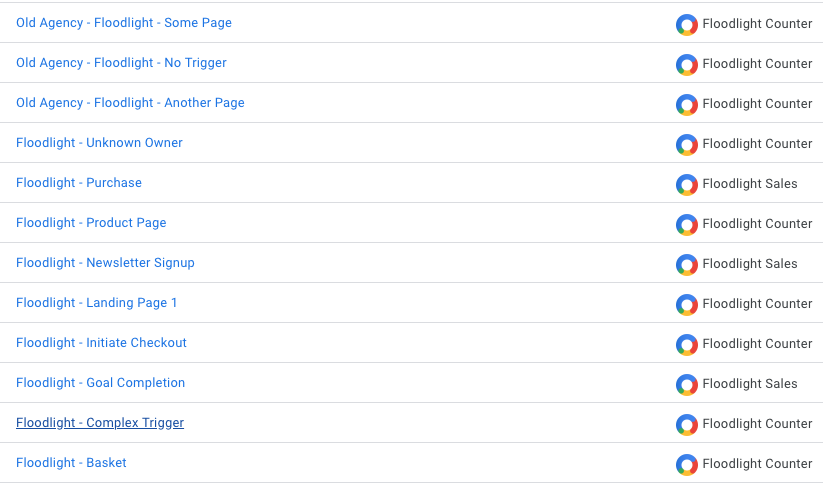
Implementing marketing tags in GTM is a core part of any analyst’s work, but when you work with multiple agencies or on large sites with multiple tags it can become difficult to keep track of all your tags. What tags are firing? What pages do they fire on? Who owns the tag?
If you’re setting up a container from scratch you also have the unenviable task of manually entering all the tags, and aside from being longwinded and mind-numbingly dull, it’s really easy for mistakes to creep in.
In my opinion, and feel free to disagree, the best way to set up marketing tags is with one “Tag” and a table that fetches the correct values depending on the page/hostname/event. That’s great if you have one variable, but if you have a floodlight tag that’s three variables and it’s much more difficult to keep a track of three tables than it would be for one. But James, Tables are only input->output. How are you going to get three values from one table?
Following the whirlwind success of my last template (which to date has a grand total of 45 downloads… 🎉) I’ve come up with my next offering to the GTM community… Multi-Column Tables.

There are two templates on offer: Multi-Column Lookup and Multi-Column Regex. They have the respective functionality of the standard GTM table templates, but return an array of values instead of just one. These are both freely available in the GTM Template Library.
I’m not going to go line by line through the code, if you have any questions feel free to reach out and I’ll do my best to explain, but I will go through how to add/remove columns and to use the template.
- Note the warning in the template

Don’t go mad with your columns or you won’t be able to use the table, but you can have more than three and it does still work, I promise.
- Add a new column, how many you want to add will depend on your use case.
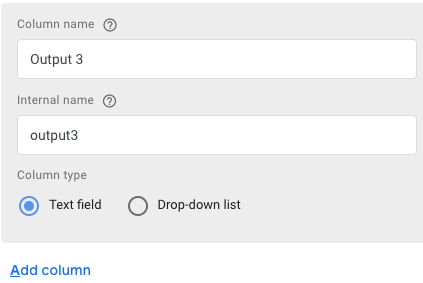
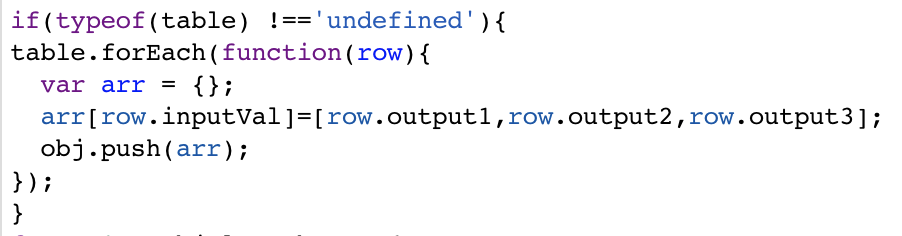
- Add the additional output (or remove the extra) columns into the template code. This is only mentioned once in each template.
That’s it for your template setup, now onto how to use it.
Fill in your table.
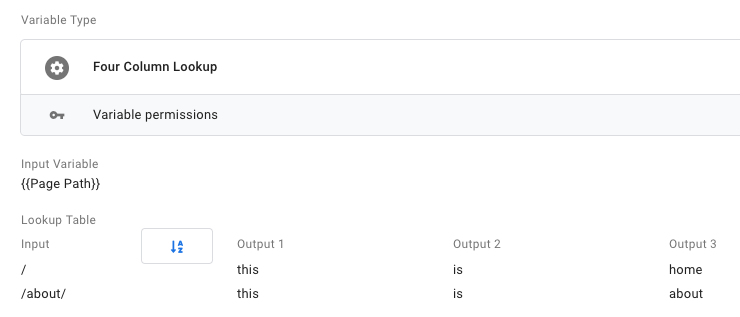
Create your return variables As the template returns an array, and although you may want this, you probably want the individual values as the output. This part isn’t pretty, and I’m sorry in advance. If anyone can think of a neater way to do this please let me know. All we’re going to do is create custom JavaScript variables, one for each column.
function(){
Return {{Four Column Table}}[i]
}
Just remember to replace i with the index for the column that you want.
Once you have the variables, you can use them in your tags:
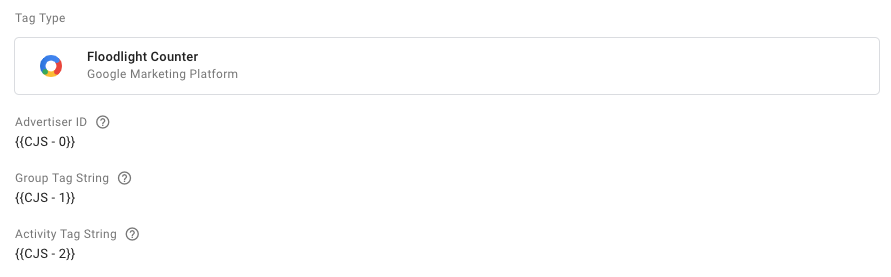
For the trigger, you can use whatever you want, however if you’re creating marketing tags that fire on certain pages and using the page path as the input variable, why don’t you use the variable as part of the trigger?
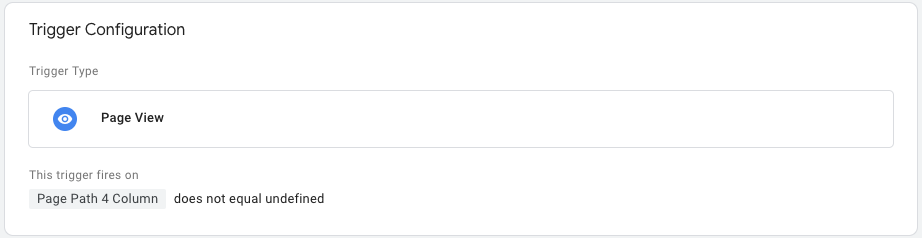
Based on the template above, this would mean that our tag will only fire on the home page and about pages. All other pages will return undefined so the tag won’t fire.
The end result